How to plant and grow sweet melon in your garden
Contents:
- Melon varieties for seasonal planting in open ground
- Sowing dates
- Site preparation
- Seed preparation
- Planting methods
- Caring for seedlings
- Pests and diseases
- Harvesting and storage
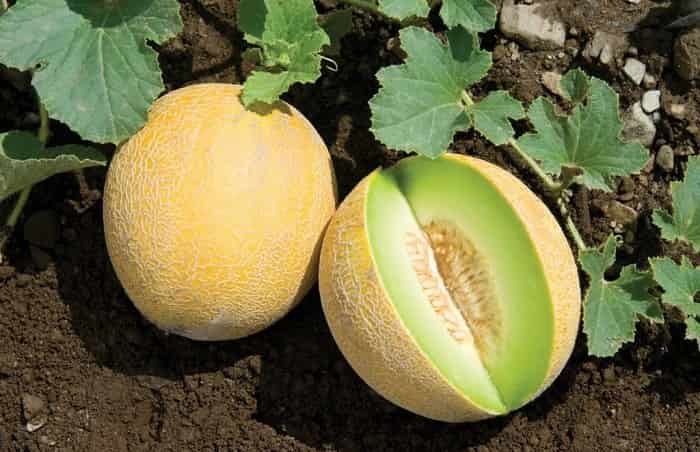
Melon is a heat-loving crop with modest needs. With a certain amount of diligence, you can grow large, aromatic fruits on your plot. Although the most abundant harvests of melons can only be obtained in the south, growing melons in open ground in the middle zone is also possible. You just need to study what the crop likes, how to choose the right variety and grow seedlings, how to care for the plant in the garden, and how to fertilize the melon at different stages of vegetation. This article contains useful information based on the experience of summer residents and agronomists.
Melon varieties for seasonal planting in open ground
Before we share some insights on how to grow melons in open ground, let’s list popular varieties with their characteristics.
- Early—133. Ripens in 2.5 months. The fruit is yellow with white flesh. This sweet variety is not afraid of fungal diseases and tolerates transportation well.
- Titovka. Ripens in 2—3 months. Yellow skin contrasts with the snow-white texture of dense pulp. Loves warmth and light. The plant is resistant to aphids and bacteriosis.
- Alushta. Ripens in 70 days. Fruits weigh about 1.5 kg (3.3 lb). The pulp is juicy and moderately sweet.
- Golden. The ripening period is about 80 days. Very aromatic fruits. Features of the variety: sensitivity to excess moisture, resistance to temperature changes, and many diseases.
- Kolkhoznitsa. Develops over 80—90 days. The fruits have a mesh on the skin. The pulp is yellowish, aromatic and sweet. It is stored for a long time. Melons of this variety are eaten fresh, jams and desserts are made from them.
- Pineapple. Develops in 80 days. The shape is elongated, and the color is from orange to light brown. The flesh is pinkish, sweet and smells like pineapple.
- Wintering. Ripens over 3 months. Suitable for the southern regions of the Russian Federation. Fruit weight is up to 2.5 kg (5.5 lb). The pulp is juicy and light green.
Sowing dates
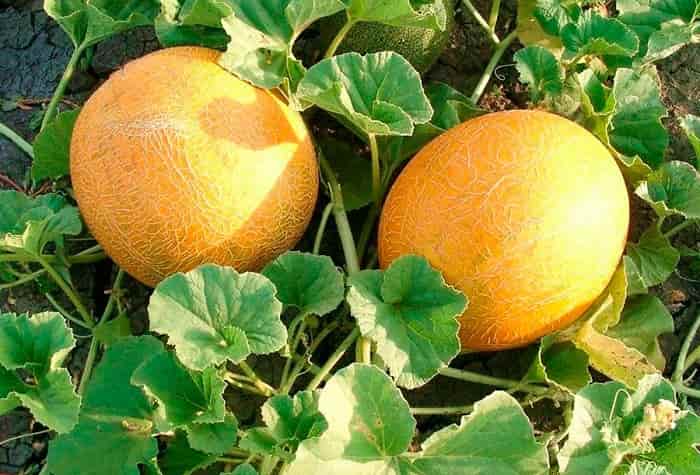
So, you have chosen the varieties. But in order for them to grow well in certain conditions, you need to take into account the heat-loving nature of the plant. Regardless of the agricultural techniques used, the crop forms the first ovaries at temperatures from +25°C degrees (77°F), and the fruits ripen at +30°C (86°F). Therefore, in regions with unpredictable weather, only the earliest varieties are grown. In mid-latitudes, seeds are sown at the end of April and transplanted into the ground at the end of May. In more northern and southern regions, these dates are shifted by a month in one direction or another.
Site preparation
Delving into the question of how to grow a melon properly, we cannot help but talk about how to prepare the beds. The garden should be located in an open but not windy place. In the fall, the soil is dug up and fertilized with humus at the rate of 4 kg (8.8 ft) per 1 m2.
In spring, the soil is dug up again, and potassium-phosphorus fertilizers are added according to the dosage indicated on the preparation packaging. Immediately before planting the seeds, nitrogen fertilizer for melon is used.
It is essential to avoid over-watering the area, as this provokes the development of fungal diseases and rot. Melons like loose soil, so for loams, you will need river sand. It is added before applying fertilizers.
Seed preparation
The seeds will germinate faster if they are treated with special solutions (for example, “Zircon”) or boric acid. The seeds are soaked, slightly dried and the healthiest and strongest are selected. According to the observations of experienced farmers, plants from fresh seeds produce male flowers, but there are few ovaries. The vines of plants from older seeds are the most productive.
Planting methods
One of the planting methods used to grow melons is seeds or seedlings. Each option has its own characteristics.
Through seedlings
The seeds are sown in early spring to obtain seedlings for the garden by early summer. Transplantation is planned when the sprouts have up to 5 true leaves. To grow seedlings, use disposable cups with loose substrate. Place 2—3 seeds in each cup and leave in a warm place without drafts. After the first leaves appear in each cup, leave the strongest plant and remove the rest.
Planting in the ground
The scheme for growing melon in this case looks like this:
- Make holes in the beds 5 cm (1.6 in) deep every 80 cm (31.5 in).
- Moisten the planting site.
- Place 3—5 seeds into the holes.
- Fill with loose soil, compact without pressing too hard.
This option is suitable for southern latitudes since, in the middle zone, there may be no harvest.
Caring for seedlings
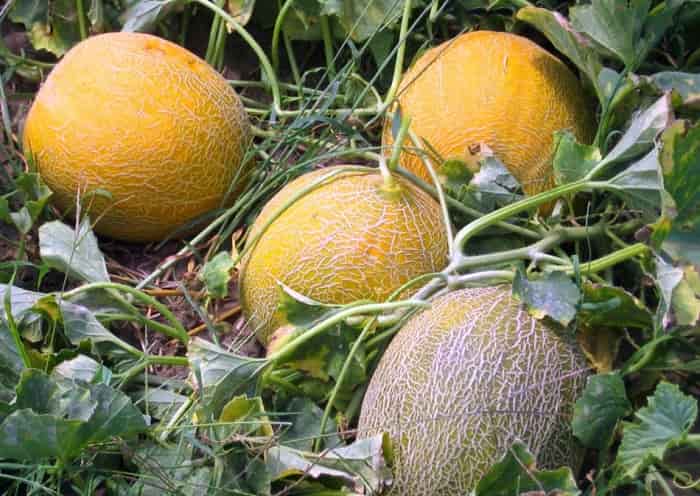
Growing and caring for melons in open ground involves the following activities:
- Watering. The plant is watered for the first time when the first leaf appears. It is not advisable to wet the stem. Watering is repeated as the top layer of soil dries out.
- Melon fertilization. Seedlings are fertilized twice with an interval of 2 weeks. Nitrophoska or a complex mineral composition is suitable for growth.
- Pinching. When the third pair of true leaves forms on the plant, the top of the main stem is carefully pinched. After this, the side shoots will start to grow. The first pinching is done at the seedling stage, but the procedure should be repeated as the plant grows to prevent the exuberant growth of greenery to the detriment of the yield.
A week before transplanting to a permanent place, the seedlings should begin to harden. It is enough to take the containers with sprouts out onto the balcony for a couple of hours to begin with, gradually increasing the time.
After planting in a permanent place, the crop requires standard care, including regular but not excessive watering, weeding and loosening, hilling, pinching and fertilizing. During the ripening of the fruits, watering is stopped so that the fruits gain sweetness.
How to feed a melon after planting in the ground and during flowering? The standard feeding schedule and timing are as follows:
- 7 days after planting seedlings or sowing, use ammonium nitrate or ready-made preparations (Kemira, Kristalon).
- Budding. The second feeding can be done with organic matter – manure, compost, ash.
- After 3 weeks, mineral compositions are used again. 50 g (1.8 oz) of phosphorus-containing and 20 g (0.7 oz) of potassium preparations are diluted in a bucket of warm water.
Pests and diseases
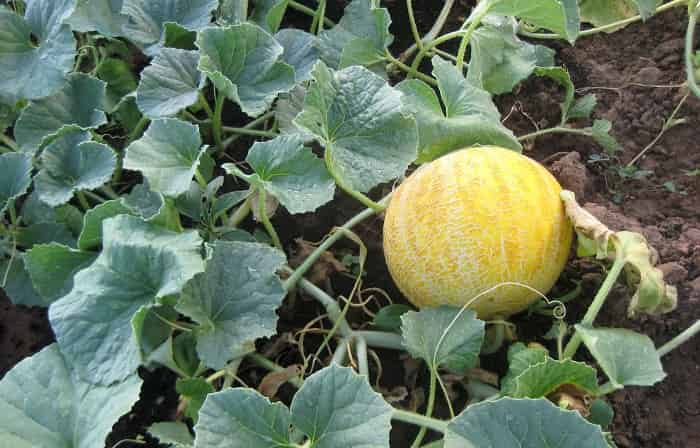
Experienced farmers recommend choosing melon varieties that are resistant to diseases right away. However, melons often suffer from fungal diseases. You can protect the future harvest by using specialized preparations and not allowing the soil to become over-moistened.
The main pests of the crop are cutworms and aphids, wireworms and spider mites. To combat them, both folk remedies (onion peel decoction, concentrated garlic infusion, red pepper) and ready-made preparations are used:
- “Mikoafidin” – from sucking;
- “Aktofit”, “Avertit” – for gnawing.
Harvesting and storage
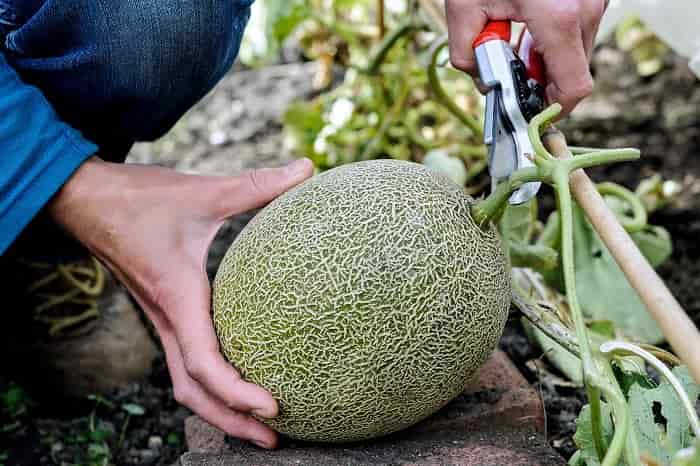
Now you know how to grow a melon at home in the country, all that’s left is to figure out when it’s time to harvest. You can determine the degree of ripeness by the color of the peel and the presence of a mesh. Ripe melons are easy to remove from the vine, and the mesh covers the entire surface of the peel.
The degree of keeping quality (storage) of the harvest depends on the variety. It can be:
- low (2 weeks);
- small (2-4 weeks);
- average (up to 2 months).
More information about the fertilizers and preparations mentioned in the article can be found in the corresponding section of the website.


Discussion0 comments