How to grow microgreens at home
Contents:
- What are microgreens and why do you need them
- Benefits of microgreens
- Popular types
- Features of cultivation
- How to use correctly
- Growing methods
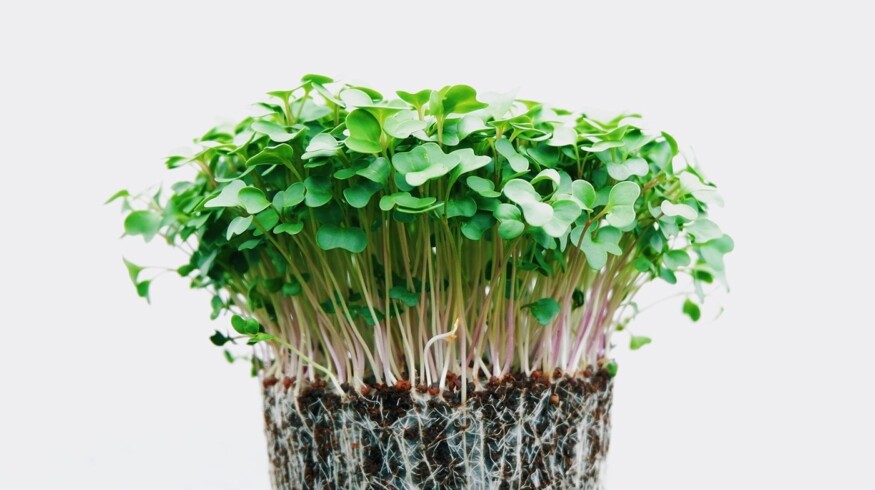
Microgreens were first discovered in the USA in the early 1980s. That’s when chefs in fashionable restaurants started adding the “healthiest” greens to their culinary masterpieces. Essentially, these are 2–4 cm tall plant sprouts at the very beginning of their development. The entire cycle, from planting seeds to harvesting, takes 1 to 2 weeks. You can grow traditional crops such as onions, herbs and lettuce, as well as other plants – daikon, radish, amaranth and beets, cereals, cabbage, chickpeas, sunflowers, etc.
What are microgreens and why do you need them
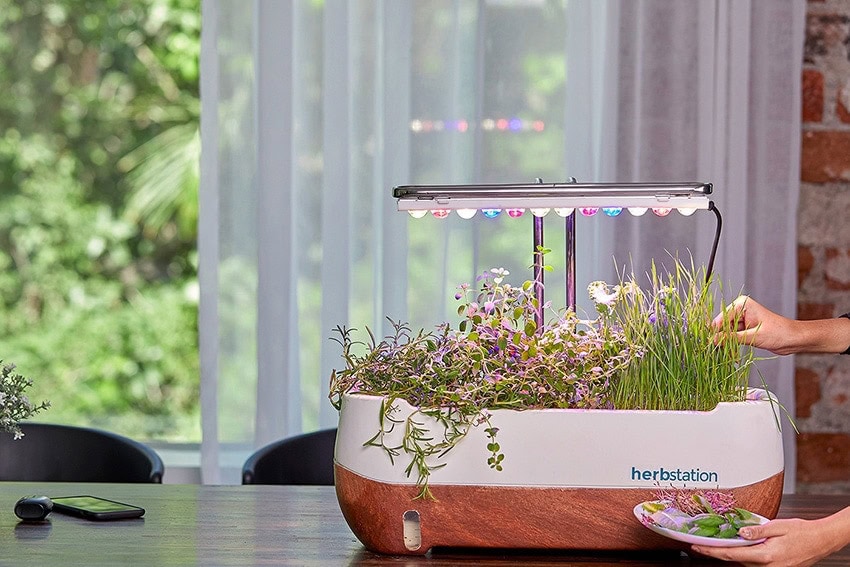
Microgreens, also known as microgreens, have become a fashionable word among healthy lifestyle supporters. Only the laziest do not mention them. Bloggers with millions of subscribers actively extol the benefits of sprouted plants, and vegetarian restaurants include them in the recipes of classic dishes.
The main advantage of microgreens is their environmental friendliness, which is due to their cultivation in clean water, where chemicals are not added on principle. The seeds are not treated before planting, only those with potentially high germination are selected. To grow microgreens, soil or a suitable peat-based substrate is used, as well as hydroponics – a technology that suggests using water with useful substances. For hydroponics, containers filled with a substrate of vermiculite and coconut fiber are used. In this way, plants are grown without soil and can be eaten immediately.
What are the benefits of microgreens
The expected benefit of eating microgreens is based on the idea that at an early stage of development, plants contain the maximum amount of nutrients. Research confirms that the content of microelements in sprouts is five times higher than in adult plants. This is explained simply: during growth, crops use up the nutritional reserves contained in seeds to the maximum. In adult plants, the content of microelements depends on how the crops are grown and on what soil.
Useful substances from young plants are absorbed better. This is especially true for cereals. Cereals, in addition to various microelements, contain fats, carbohydrates, gluten, starch. All these nutrients, but with greater benefit, can be obtained if you eat cereals not in dried form after heat treatment, but at the microgreen stage.
Sprouted seeds contain vitamins E, C, PP, as well as phosphorus, iron and folic acid, magnesium. Cilantro, basil and coriander also contain essential oils that have an antioxidant effect.
Popular types of microgreens
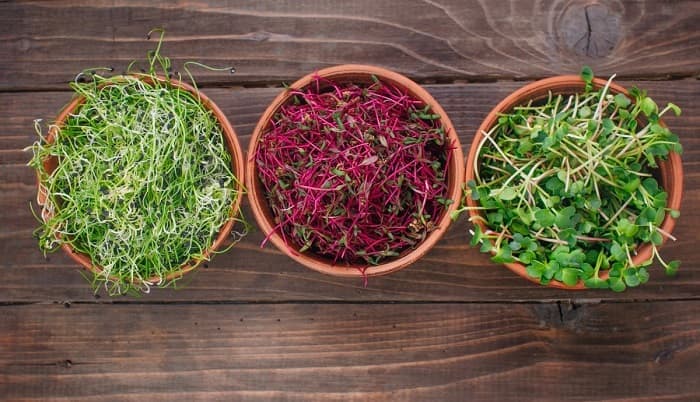
Young and such useful shoots can be grown from ordinary plants. Most often, root crops and greens are used, less often – cereal crops. Microgreens differ from sprouts in that the former has time to release a couple of real leaves, and the latter are consumed as soon as the rootlet cuts through. However, not all seeds can be consumed in sprouted form, so the plants are grown until the first young leaves appear.
Initially, only a few types of plants were grown – arugula, beets, basil, cabbage, coriander. In 2020, dozens of crops were added to the listed assortment, but not all of them gained popularity. The most popular microgreens are peas, mizuna, mustard, soybeans, watercress, daikon, sunflower, lentils, buckwheat, alfalfa and mung beans.
Microgreens from nightshades (tomatoes, eggplants, peppers) and potatoes are not grown at all, since the tops of these crops contain alkaloids – natural poisons. The same applies to the seeds of zucchini, pumpkin and beans – their sprouts contain inhibitors that interfere with the absorption of nutrients, so if you should eat them, then only after heat treatment.
Peculiarities of growing plants at home
To get a harvest of “green vitamins” on the windowsill, you need to carefully select the seeds. Large ones are kept in water for several hours, after which they are sent to a tray for germination. Small ones are not soaked, but immediately sown.
Growing microgreens at home requires creating favorable conditions, including lighting, temperature, and humidity levels.
Artificial lighting is not necessary, but the level of illumination changes the taste and color of some crops. Corn grown in the dark will produce sweet greens, while when grown with light, it will be bitter. Those who decide to use backlighting need to choose the right spectrum, intensity, and duration of exposure, taking into account the needs of a particular crop. Low-intensity red light will help lengthen leaves and stems. Blue light makes the leaves dark and spicy, as well as compact. Microgreens grown under red light are good in salads, while under blue light they are good as a seasoning.
The ideal temperature for microgreens is 18 to 24 °C (64.4 to 75.2°F), humidity — 40 to 60%. Each plant has its own needs. Arugula, watercress and other cruciferous vegetables grow quickly, while leaf parsley takes a long time to grow.
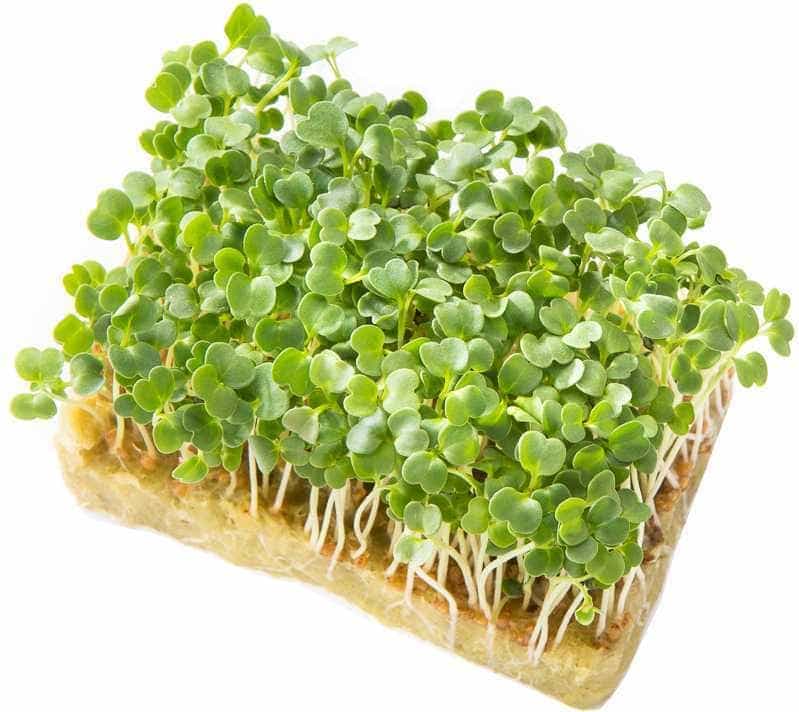
When choosing a DIY microgreen sprouter, it is necessary to prevent the development of pathogenic microorganisms in coconut fiber or another selected substrate. In this regard, stone wool (mineral wool) wins. The material is environmentally friendly, made from volcanic stone. Stone wool does not contain harmful substances, it retains water well.
The plant seeds are carefully placed in a container with a substrate, not watered, but only moistened so that they do not rot. The harvest is collected immediately as a pair of true leaves appear: the plant is cut with sharp scissors, washed under running water and hidden in packaging. The shelf life of fresh greens is up to 6 days in a cool place.
Recommendations on how to use correctly

Microgreens can be eaten as a separate dish and used to serve your culinary masterpieces. In addition, healthy greens are added to smoothies and various vitamin cocktails. The principle of use is the same as for other green crops and vegetables: fresh, added to salads, made into sauces without heat treatment. Healthy leaves are often used to decorate seafood and meat dishes.
The recommendations of nutritionists boil down to two main points:
- The fresher the greens, the richer their composition of useful microelements, vitamins and minerals. Almost immediately after harvesting, their content decreases, and with long-term storage, vitamins are destroyed, and the taste of microgreens becomes less rich. Therefore, it is advisable to cut off sprouts with leaves immediately before eating.
- Thermal processing of microgreens is contraindicated, like any other. If you fry or boil the leaves, they will turn into a green mass, which will be of no use. Pickling, freezing, salting and preserving sprouts is also pointless. Only a fresh harvest of microgreens provides the benefits listed above. Otherwise, there is no point in growing the product.
Microgreens have a recognizable taste, characteristic of the corresponding crops. Thus, radish sprouts and leaves taste like young radishes, and mustard greens delight with familiar spicy-piquant notes. By following the cultivation technology and the above recommendations for use, you can get a tasty and healthy product.
Growing methods
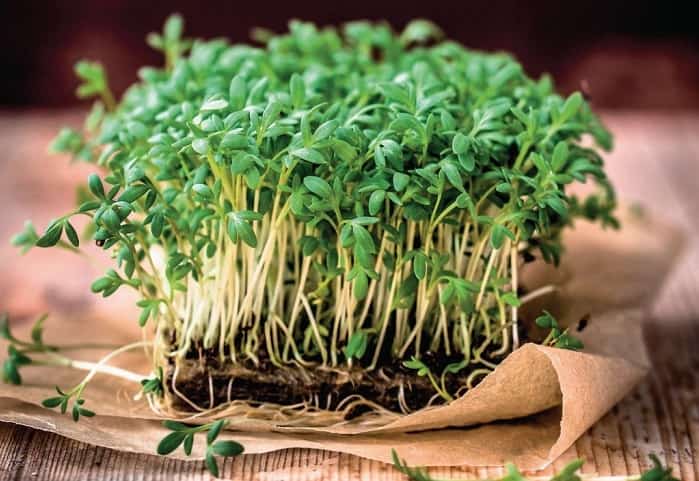
Buying containers and bags of delicate greens from supermarkets is expensive and impractical when you can grow them yourself at home. With proper care, greens grow quickly, receiving nutrition from the reserves contained in the seed. The easiest ways to grow microgreens are listed below.
In the substrate
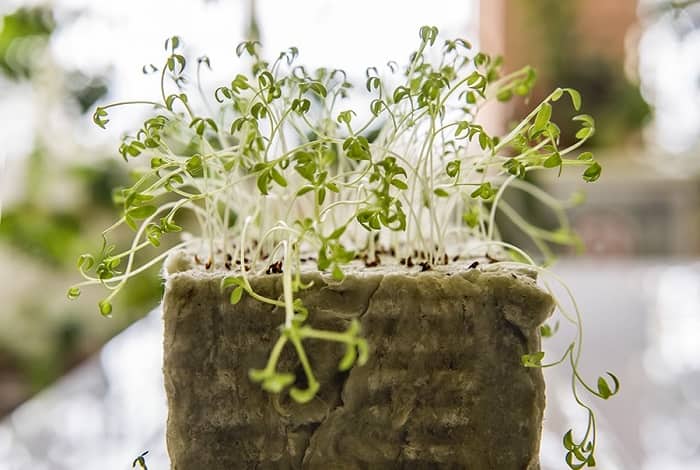
The most well-known and accessible option for growing microgreens. You will need a wide container into which you need to pour some seedling soil or garden soil. Spread the seeds on top of the soil and moisten them generously with a spray bottle. After that, it remains to slightly cover the seeds with soil, and the container with glass, cling film or other transparent cover. Place the container on a well-lit windowsill on the south side. As soon as sprouts appear, remove the cover.
On paper
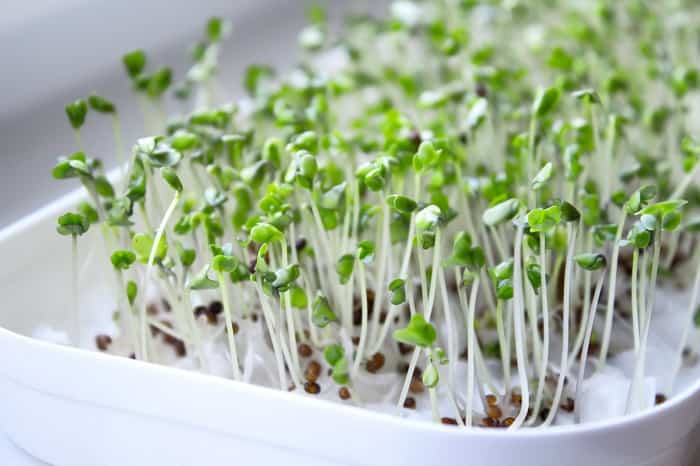
As a base for growing microgreens, you can choose hygroscopic paper. There are several options for growing microgreens at home using this method:
- Prepare a tray with low sides, put paper on the bottom, wet it thoroughly. Place the seeds on top, cover the tray with film and put it on the windowsill. There should be enough water, but so that the seeds do not float in the container. From the moment the sprouts appear, remove the cover and keep the paper moist, spraying the growing greens 2-3 times a day.
- Prepare toilet paper, cut polyethylene of similar width. Place toilet paper on top of the film strip. Moisten the resulting base with a spray bottle. Place seeds on one edge and roll the base into a roll. Place several rolls rolled in this way vertically in a container of a suitable size, pour some water on the bottom, cover the container with film. Microgreens grow well in rolls without watering and spraying. The only condition is the presence of a small amount of water at the bottom of the container.
On cotton wool
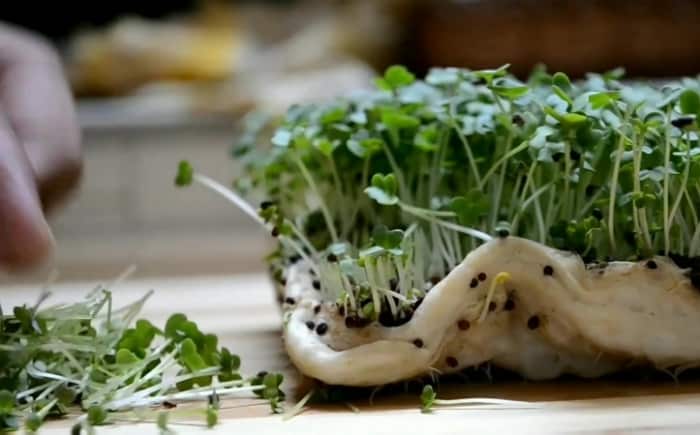
Another simple and affordable way to grow microgreens at home. Instead of cotton wool, you can use cosmetic disks – they are more convenient to regulate the thickness of the base. Place the cotton wool in a container of the desired size, moisten. Place the seeds on the surface. Cover the container with cling film. Then you just need to maintain the moisture of the cotton base by regularly spraying until the seedlings grow to the desired size.
In a glass jar
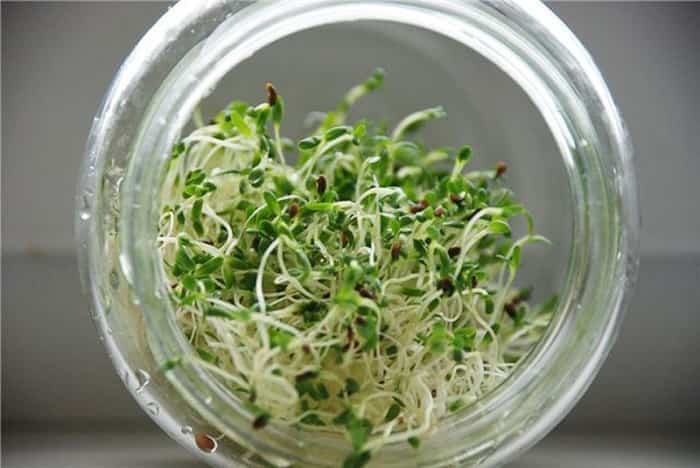
Pour seeds into a clean jar, fill with water and leave for 24 hours. The next day, put gauze on the neck of the jar and secure with a rubber band. When the seeds swell, turn the jar over and drain the liquid through the gauze. Rinse the seedlings to prevent mold from forming and place the jar on a tray at an angle to drain the water. Continue to rinse the seeds several times a day while growing greens.
In the sprouter
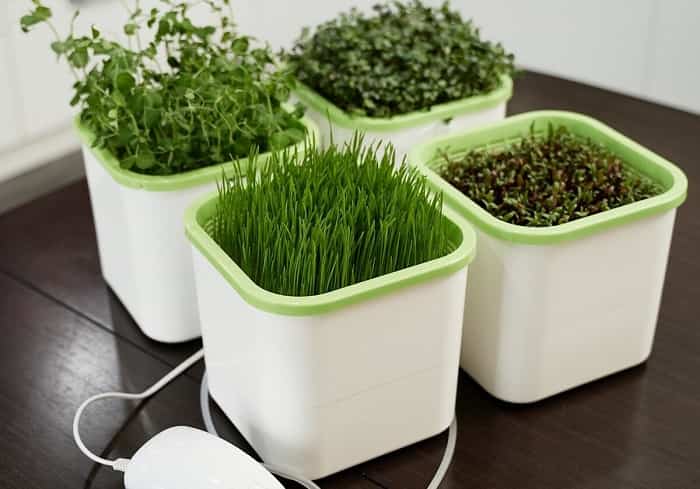
A sprouter is a convenient device that allows you to grow healthy greens at home. Simple designs are inexpensive and consist of a closed container for water with a mesh tray. Water is poured into the container, seeds are laid out on the mesh tray and everything is covered with a lid. Multifunctional devices are equipped with an automatic watering system.
Regardless of the method chosen, it is necessary to protect the greens from mold. Preventive measures include thorough cleaning of the containers used before each seed planting and daily inspection of the sprouts. Preliminary soaking of seeds can speed up germination. Time recommendations vary for each type of greens. Thus, 20 minutes is enough for watercress, and beet and pea seeds need about 8 hours.



Discussion0 comments